solarized light
Supplementary
Congratulations on completing Let's Learn Software Development with Python! We have one more outstanding lesson here. Which is, how might one run python code locally? Stick around in this supplementary lesson to find out!
How do we run a Python program? Where should it be run? What does it even mean to run? Before we can answer these questions, we need to understand the difference between operating systems to understand how they affect the answers.
It's up to you whether you want to install Python on your system. Digi Cafe has interactive coding projects that allow you to go straight to coding without having to worry about all of this. The following assumes some familarity with a terminal; There's one answer, a Python program can be run from a terminal, also termed a console.
For this course, we will assume you are in a Unix environment. Unix has a long history of being more stable with better permissions management than Windows. MacOS is a derivative of Unix and as such, commands that work in Unix will typically work in MacOS; however care must be taken to make sure installed programs are for MacOS and not Unix. Windows is the odd system out. It's getting better thanks to WSL2 (Windows Subsystem Linux), that is a highly integrated virtual environment in Windows that allows one to operate their system just like a Unix user. For Windows users, it is left to the reader to set up WSL2. Though this process has gotten significantly easier in the last few years. Here's a link that covers installation: https://learn.microsoft.com/en-us/windows/wsl/install. After installation, one can install various Unix flavors, such as Ubuntu 22.02. Within this environment one can follow the Unix code.
Python has a number of popular package managers, the two biggest being pip and anaconda. The packages offered in each of these repositories typically have high overlap, so it's a matter of preference on which one a programmer wants to use. However for consistency it's typically best to chose one and use it for sourcing all packages. This course will use anaconda for handling its environment and packages.
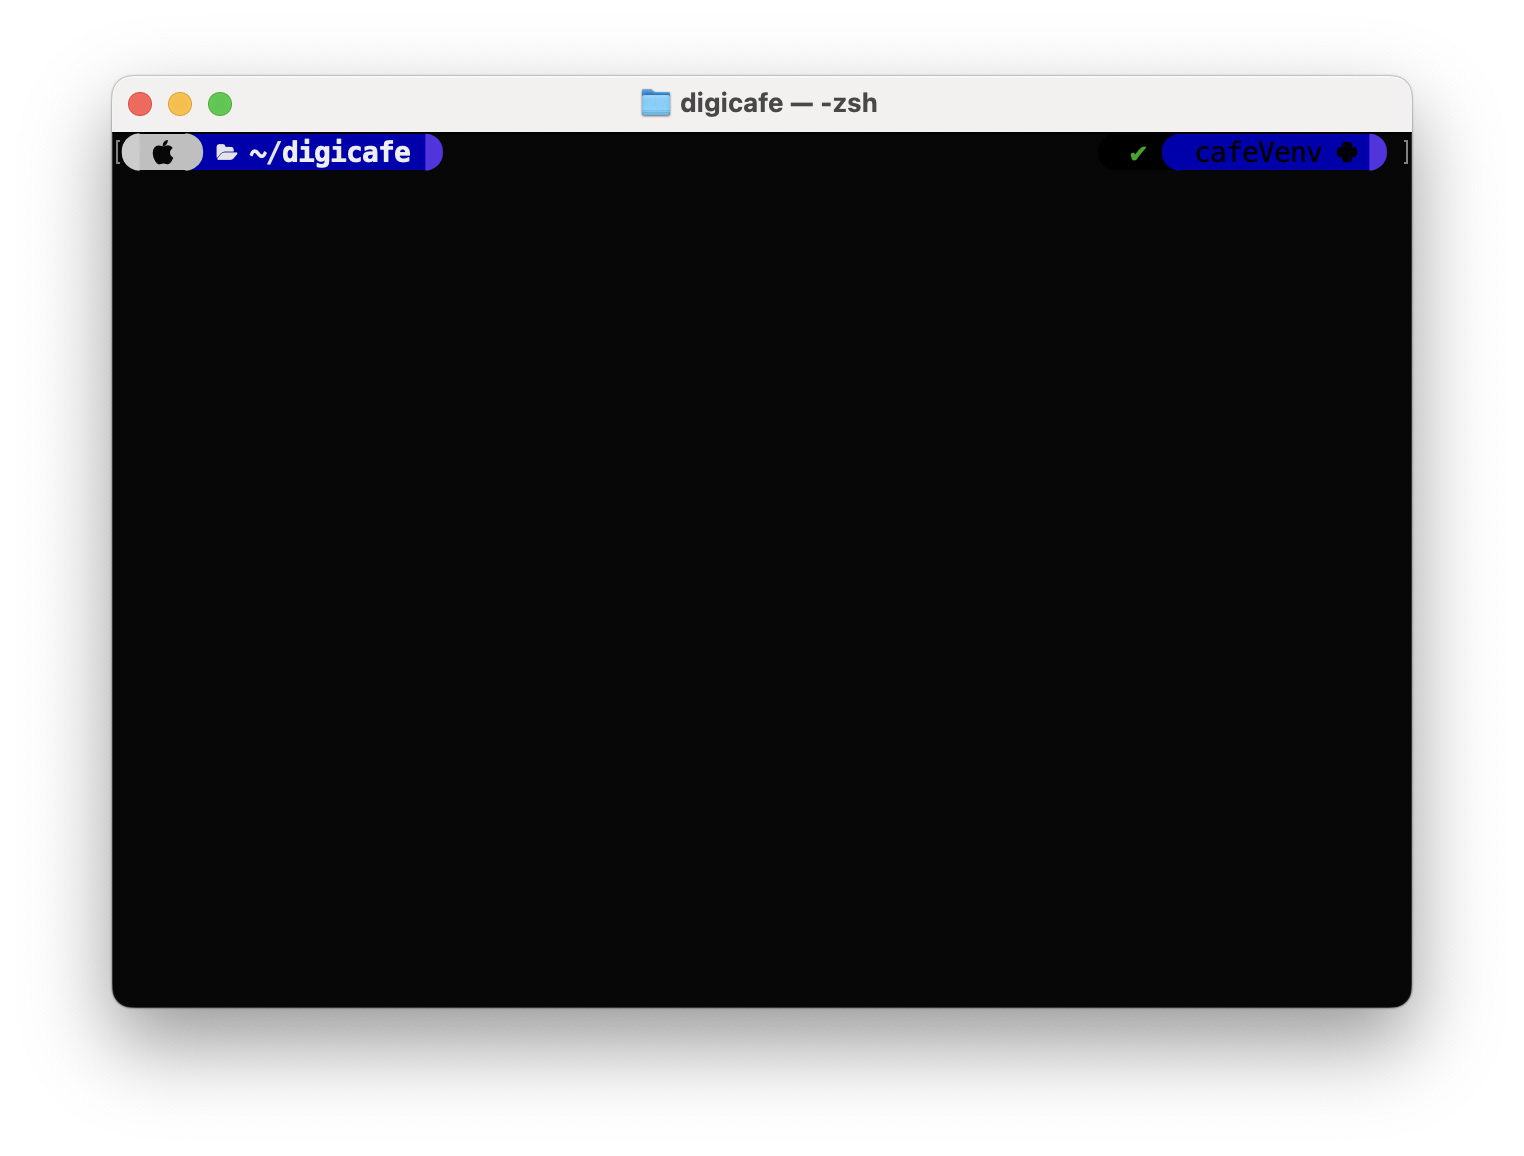
Start by opening a terminal. On Mac this is called Terminal on Unix, this comes in different names, but is very similar. One should see a screen that is similar to below.
Please use the dropdown to follow code for either MacOS or Unix. The
installer for Mac is also dependent on whether your system is using new
Apple silicon such as M1 or M2, or older intel based CPU's. In the line with
~/.zshrc, your configuration file might
be ~/.bashrc if your shell is bash. This
installation will install miniconda (a smaller, more portable version of
anaconda) and set up an environment to protect your computer from you. When
running the installer, follow the prompts to the best of your
abilities. When it asks where you want to install it, it's up to you where
the new directory miniconda3 will be installed, however
pressing enter is a default location and might be safest to
start. When it asks if you want to run conda init, please input yes.
What this is doing is downloading a miniconda installer, running the installer, refreshing our terminal so that it can find the installed program, creating a virtual environment called cafeVenv and entering this virtual environment.
If you had trouble, please reference the miniconda installation site https://docs.conda.io/en/latest/miniconda.html and do the best you can to install miniconda on your system. As the focus of this beginner level course is to learn programming and not operating systems, it's completely fine to skip this for now and come back to it when you feel ready. Getting a coding environment set up is one of the hardest things any programmer will do when they start learning a new programming language.
Let's assume you've successfully installed miniconda and are in the virtual
environment cafeVenv. It's best to make sure you are in the virtual
environment you plan to use as installing packages outside this virtual
environment will not be available inside it. Anaconda contains numerous
repositories within it, such as
anaconda and conda-forge, so it's best to double
check with the the anaconda site to find the right repository to use.
We should make sure Python is installed properly. It's possible miniconda
will not install any verson of Python and leave it to the user to install
it. Enter a Python session by simply typing python in a
terminal. If it says program not found, then we should install it using the
code below.
After installation, try entering a Python session again. If you are able to
enter a session, we don't need anything more at this time and so can exit. To do so, use
the command exit() then
hit enter. Another way to exit a Python session is with the
command CTRL-D, where CTRL stands for the control button on a
keyboard, a capital d is the letter d - it doesn't have to be
capitalized, more for notation, and a dash indicates the two buttons should
be pressed together.
We don't need any packages right now, however it is a good time to learn, so let's install one package that we will need later, namely numpy.
Running this in a terminal will install the numpy package into the virtual environment, making it able to be imported by any program that wants to use it. It is important to note that this package is only available while in this Python environment. If one changes environment or returns to a global Python, this package will not be available.
If we want to exit the virtual environment, simply input in a terminal
That's really the end now for this course. Thanks for joining us on this journey and if you liked what your learned feel free to head on to the intermediate or advanced level courses, or take up another discipline along a different path such as data science.